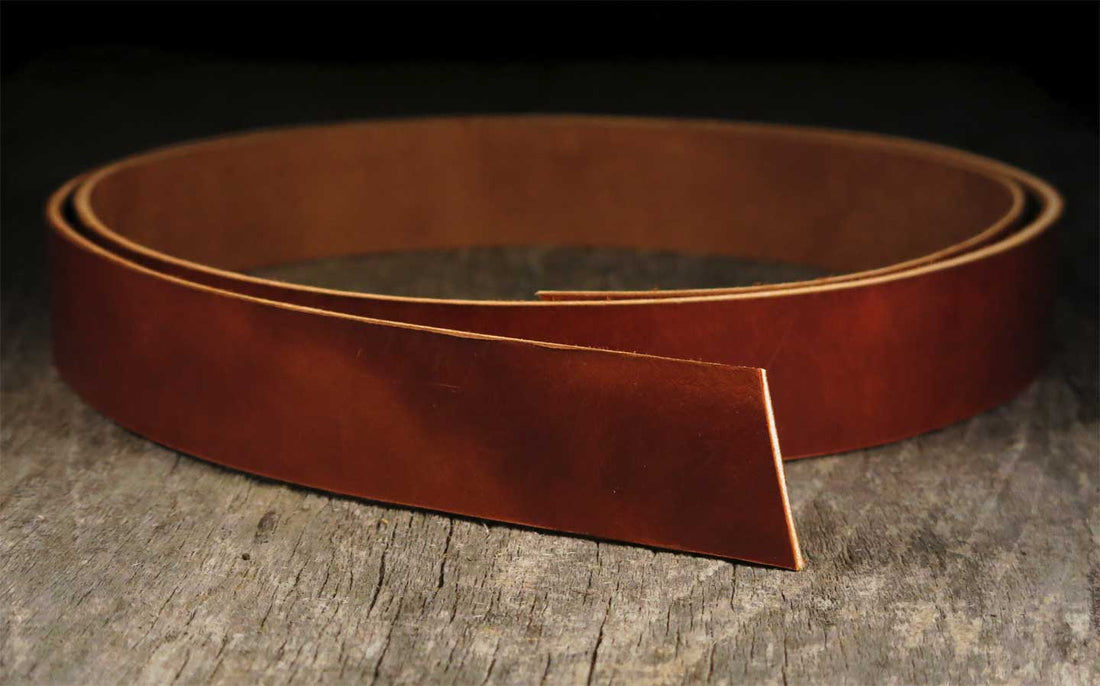
Finishing the Edges of Vegetable-Tanned Leather
Finishing the Edges of Vegetable-Tanned Leather
Finishing the edges of vegetable-tanned leather is essential for achieving a clean, sleek, and durable finish. This guide outlines the best techniques and tips for perfecting your leather edges.
Step 1: Preparation and Trimming
- Ensure that the edges are glued together and trimmed flush if working with multiple pieces of leather.
- Use an edge beveler to bevel the edges on both the front and back. This reduces the thickness of the edge and prevents bulkiness.
Step 2: Sanding
Sand the edges to make them even and smooth. Start with a coarse grit (e.g., 80 grit) and progress to finer grits (e.g., medium and fine grit) for a polished finish.
Step 3: Wetting the Edges
- Apply water to the edge using a wool dauber or a similar tool. This softens the leather fibers, making them easier to work with.
- Use glycerin saddle soap or a similar product to lubricate the edge. Apply it and rub the edge back and forth with a canvas cloth or denim to generate friction and begin the burnishing process.
Step 4: Initial Burnishing
After the initial burnishing with the canvas cloth, allow the edge to dry slightly. Then, use a wooden slicker or burnisher to finish the burnishing process. This step seals the fibers and gives the edge a sleek appearance.
Step 5: Sealing and Protecting
- Apply a natural product like beeswax to the edge and burnish again with the wooden slicker. This seals the edge and provides protection against wear.
- Alternatively, you can use a leather finish product to enhance durability and appearance.
Conclusion
Finishing the edges of vegetable-tanned leather not only improves the aesthetic appeal but also increases the longevity of your leather projects. By following these steps, you can achieve professional-looking results that enhance your craftsmanship.
For more information, visit The Copper Buckle
